How many days do you need in the Kruger? A real answer
How Many Days Do You Need in The Kruger, Honestly
People ask how many days they need in the Kruger the way they ask how long a stretch of road is, expecting a single number back. But the answer is not as simple as that.
The traveller who wants numerous game drives and a good story to tell needs a different amount of time to someone chasing 507 recorded bird species or a sunset dinner beside a fire with lions calling somewhere in the dark.
When you are trying to determine how many days you need in the park, you need to start with deciding, more or less what kind of trip you want to have.
Your answer to that will help you decide if you need a 3 day stay or a 2 week one.
What One Day Inside the Kruger Realistically Covers
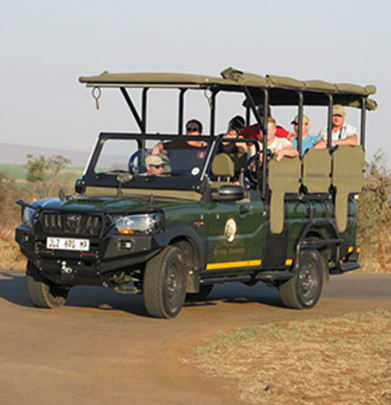
A full day open vehicle game drive, entering through a southern gate like Crocodile Bridge, covers one concentrated area of the park rather than its full range.
Since the Kruger is home to more than 151 mammal species, 507 bird species and roughly 2000 plant species spread across nearly 2 million hectares, you’d actually need many weeks to see it all, which is why, for many travellers, a single safari is never enough.
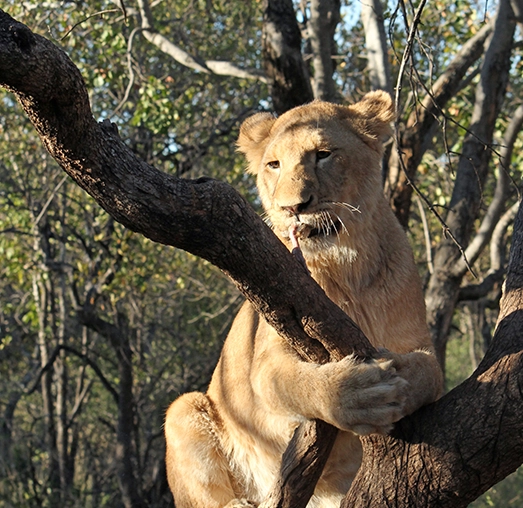
One day will give you a good chance of having multiple Big 5 sightings (minus the leopard though because that is one animal that is exceptionally rare), plus the kind of golden hour photography that a rushed multi stop itinerary rarely allows.
Day trips can be split into morning and afternoons only, or complete full day tours, and if you are short on time, they will give you a wonderful introduction to this famous place (and whet your appetite for the next trip).
Matching Your Days to The Kind of Safari You Want
Two days suits travellers wanting both a daytime game drive and a distinct evening experience, since a sunset drive followed by a bush dinner under the stars creates a completely different atmosphere to a morning outing.
Three days allows for a dedicated early start, since a sunrise drive with a stop for coffee and a rusk at a breakfast site inside the park catches animals at their most active before the heat sets in.
Birders benefit from a minimum of three days regardless of other plans, since Kruger’s bird count runs into the hundreds and different habitats reveal different species at different times of day.
And four to five days in the Kruger is really the sweet spot, treating you to plenty of sightings and loads of time to enjoy your holiday.
A Checklist for Planning Your Kruger Days
Having a list of wildlife to tick off only makes a holiday feel like work. That said, it does help to have a planning list to guide you through your decision making and ensure that you select the right number of days.
The Number of Days You Need in the Kruger (According to Your Interests)
| Interest | Recommended days | What you can look forward to |
| One strong game drive | 1 day | A chance to see some of the Big 5 plus several other animals |
| Day and evening variety | 2 days | A sunset drive and bush dinner alongside a day drive |
| Dedicated birding | 3 or more days | Multiple habitats across different times of day |
| Full Lowveld experience | 3 to 4 days | Game drives, a champagne breakfast and a Hoedspruit or Panorama Route day tour |
At Royal Safaris, our trips run out of gates like Crocodile Bridge, with add ons such as a bush braai dinner or a champagne breakfast inside the park. We build our day options around giving our guests some variety rather than treating every day in the Kruger as an identical game drive.
Our tours suit all types of budgets and travellers, and we focus on giving you the best of the Kruger. Browse our site for more information or to book a package.
Frequently Asked Questions
How many days do you need in the Kruger National Park?
One day can give you a couple of Big 5 sightings, while 3 to 4 days allows for a mix of game drives, an evening experience and time dedicated to birding across different habitats.
Is a single day safari worth doing in the Kruger?
A single day, entering through a gate like Crocodile Bridge, concentrates on one wildlife rich area and delivers a strong sighting chance, making it a complete experience rather than a rushed compromise.
How many days should birders spend in the Kruger?
Birders benefit from at least 3 days in the Kruger, since the park’s recorded 507 bird species are spread across habitats that reveal different species depending on the time of day and location.
What is the difference between a day drive and an evening safari in the Kruger?
A day drive focuses on daytime wildlife activity, while an evening safari extends into dusk and often includes a night drive, revealing nocturnal species that daytime visitors rarely encounter.
Can I combine a game drive with other Kruger experiences in one trip?
A 2 to 3 day trip comfortably combines a day game drive with an evening bush dinner or a morning champagne breakfast, since each experience runs on its own dedicated time slot inside the park.